Departments - managing multiple departments from one account
Last updated: 2019-12-16
Post view count: 1600
Departments enable you to transfer your company structure into Sugester. Dividing your company into departments ensure that every cell within your company will have access to information it needs.
If you require a more specialized internal structure, you can create specific roles for every employee in a department, depending on their position, you can provide them with permissions and access to what the employee requires. Learn more in the article Privileges (Roles) for users.
In this article you'll learn:
- how to add a new department
- who has access to the data in a department
- how to attach a mailbox to a department
- how to assign a customer database to a department
- how to sort information by departments
Adding a department
You can create as many departments as you need to maintain a structural order within your company. For instance, if within your company you have the following employees; an accountant, a marketing specialist and sales personnel, you can create a different department for each of these cells. Thanks to this your sales personnel will not be able to peak into the finances of the company, and the marketing department will not be able to take a glance at your sales channels.
Adding and configuring new departments is a straightforward task. To create a new department, navigate to Settings > Departments and click on the button Add.

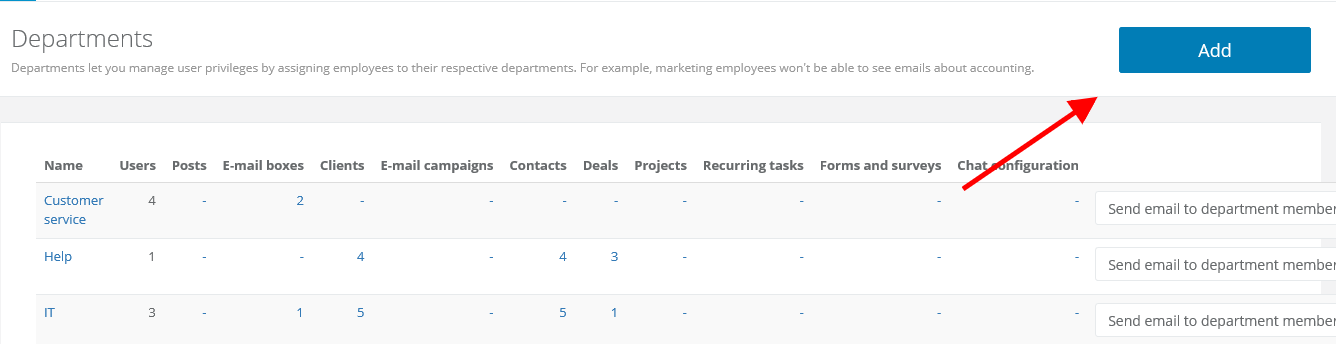
You will see a window for adding a new department. Here you can add the name for your department along with a short description, allocate which users have access to the department and which email boxes will be available to the department.
Upon completing the form click on the Save button.

Granting users access to a department
Take note that departments are very restrictive, so if an employees don't have access to a certain department, they will not be able to see anything that has been allocated to this department. Not even if a en email or a client belonging to this department has been allocated to the employee with no access. Therefore, you should make sure that the right employees have access to the right departments.
If you wish to grant your employee access to a department, you can do so in two ways:
Department configuration - navigate to Settings > Departments, next select the department which you wish to configure and mark the checkboxes next to the users whom you want to grant access to.
From the user profile - navigate to Settings > Users, select the user you want to grant access to, and from here on you can mark the departments to which the user has access to. Using this method you can allocate multiple departments to a user simultaneously.
Admins have access to all the data for all departments.
NOTE! If your employee should not only have access to data from the allocated departments, but also to all emails and clients that have not been allocated to a department, be sure to mark the checkbox - without allocated department in the user profile.

How to assign a mailbox to a department
You can assign a mailbox to a department if it is operated by multiple people and no one else should have access to the it.
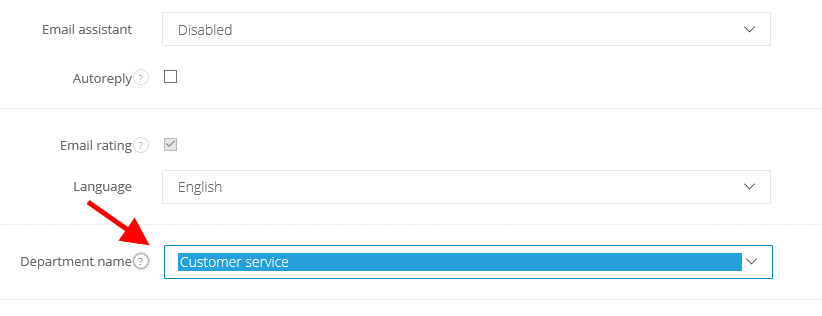
To assign a mailbox to a department, navigate to Settings > Mail setup > Email boxes > More options and select the departments name in the Department field. Finally, click Save.
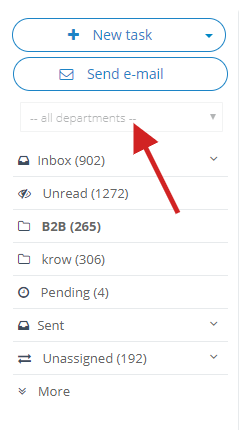
You can also connect a mailbox to a department if one employee handles more than one mailbox. It will be easier for the employee to view messages if they are sorted by departments. All you have to do is open the list of all departments which you can find in your inbox under the Send email button. With this list you can switch between departments and check correspondences on a regular basis. To which department an email has been assigned is indicated by a gray label next to the message.

How to assign a list of clients to a department
Dividing your customer base into various departments will work especially well if you have several sales teams and do not want one team to be able to see the others clients or prospects. We all know that in sales everyone works for results.
If you are only just starting and creating your customer base from the scratch, you can manually assign records to a given department. Just:
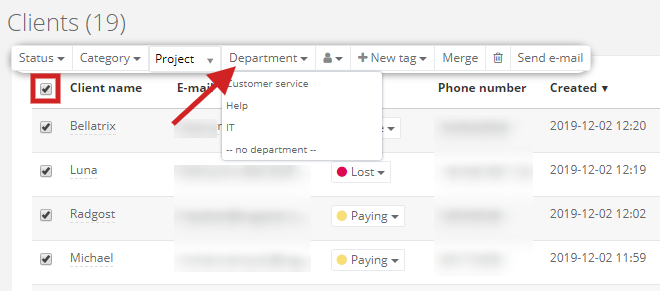
- go the Customer tab
- search for the records that you want to transfer to your department
- check the checkbox in the upper left corner, just above the list
- a bar will appear above the list, select the department to which you wish to assign the group of clients.
If the list of clients that you wish to assign to a given department is extensive, you can use the export and import functions within Sugester to help you out:
- using the simple / advanced search feature to find the clients which you want to assign to a department
- click on the cog-wheel and select Export list. You will start exporting data to XLS.
- in the exported file, add a new column titled Department and enter the department name.
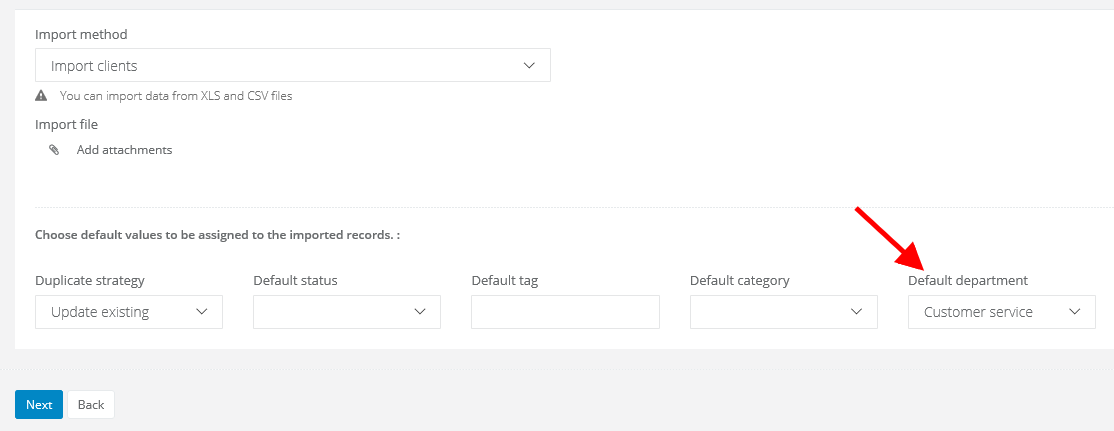
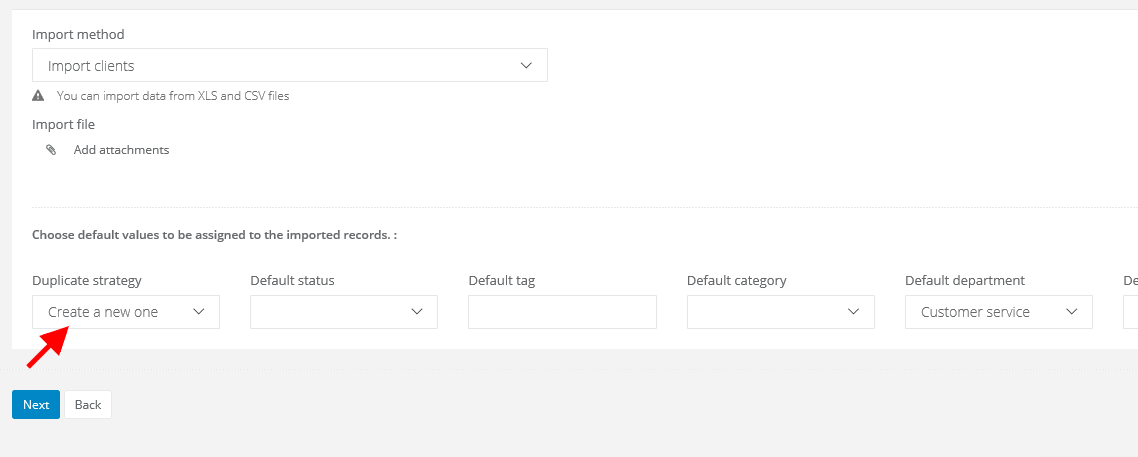
- in Sugester navigate to Settings > Imports/Exports > New Import > Import clients
- in the Duplicate Strategy field, select Update existing
- in the Default Department field, select the department to which you are importing the data
- finally, add the file and follow the instructions as outlined in the article Importing customer database.
If you want to add a new list of clients with an assigned department to the system, all you need to do is:
- navigate to Settings > Imports / Exports > New Import > Import clients
- in the Duplicate Strategy field, check Create new
- in the Default Department field, select the correct department
- add the file and follow the instruction regarding client import.
Sorting data by departments
Most features in Sugester grant you with the option of being able to search data per department.In the tabs: Tasks, Projects, Clients and Deals, you can do it by using the search engine, which you can find on the left. There you will find the Department field.
In case of sorting your inbox use the option - all departments - which you can find under the Send email button.
Back
Add Comment