Custom fields in CRM module
Last updated: 2019-12-02
Post view count: 2235
Although the default client sheet in Sugester gives you space to include a lot of client information, your company probably uses some sort of business-specific data. Things like order status, customer ID, payment method etc - the possibilites are innumerable - can be crucial to running your company, but there is no way we could think of each and every one of them. There is also the question of naming - even if we came up with hundreds of possibilities, there is chance that your business uses them under a different name. This is why we enable our users to create custom fields on client sheets - to easily capture and use all the data that you need.
Custom fields in CRM
Adding a custom field is very simple. Just go to Clients > CRM and click on the cog icon in the top right corner. Next, select Add custom field. You will see the following screen:

Here you can decide on your new field's three parameters:
- Field label - what the field will be called
- Field type - this designates what kind of input the field is meant to contain. You can choose between text, long text, number, decimal, date and date and time. If you are not sure which one to choose, leave the deafult setting (text).
- Display as column in main view - if you leave this setting on, the field's value will be displayed in a column in the main CRM view. If you disable it, the field's content will only be accessible by going to a client sheet.
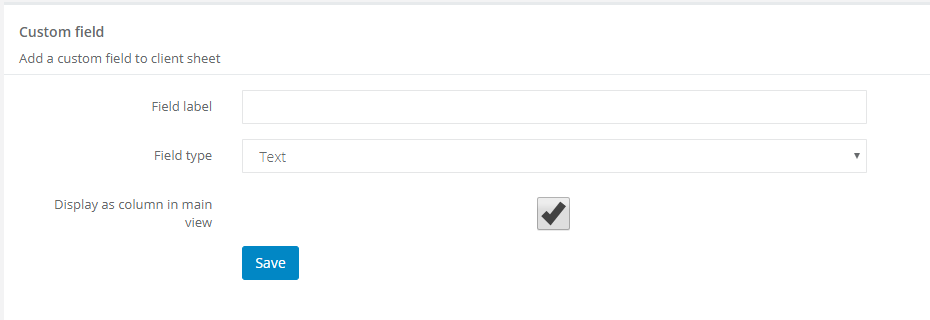
After you've selected the desired options, just click Save.
Add 'select' and 'multiple choice' fields
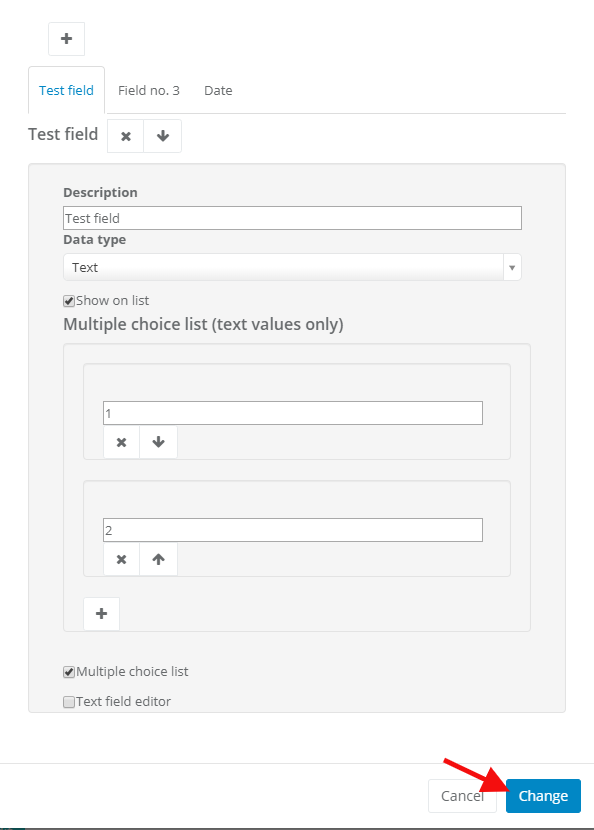
To add your own select field, go to Settings > Account setting > Advanced. In the Custom fields on client sheet click on Edit. Add a new field, by clicking on the '+'. With this button you can also add new choices.Note! In the Data type you always have to have Text selected.
If you want to create a multiple choice field, mark the Multiple choice list checkbox. Next, click on the Change button and also save the changes in the bottom of the window.
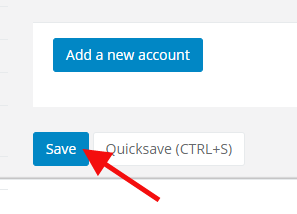
Always remember to save changes at the bottom of the page:
Displaying custom fields in client's profile
You can see your custom fields in the client's profile, by the left side. Custom fields are the same for each client. They will be displayed only if they're filled in. If a custom field is empty, it won't be visible - until you fill it. You can always fill it in client's edit.

If you'd like to edit or delete your custom field, learn more in this article: Deleting/editing custom fields.
Back
Add Comment