NPS surveys are a great tool for measuring customer satisfaction. The abbrevation stands for Net Promoter Score, because the final result of a completed NPS survey is a single score between -100 and +100. The higher the score, the more satisfied are your customers. You can read more about NPS on Wikipedia.
To create an NPS survey in Sugester, first make sure that you have the 'Forms' module enabled. To do so, go to Settings in the top right-hand corner of your screen and select More from the list. Scroll down until you see this icon:
Click on it to enable the 'Forms' module. After you've done so, a new item will appear on your top menu pane named Forms. Click on it to open the 'Forms' module.
On the following screen click the button marked + New in the top left-hand corner and select Create NPS survey on the following screen.

You will be sent to the NPS survey builder. This is where you can customize the appearance and behavior of your NPS survey. The customization options are divided into basic and advanced options. The basic options are available immediately and look like this:
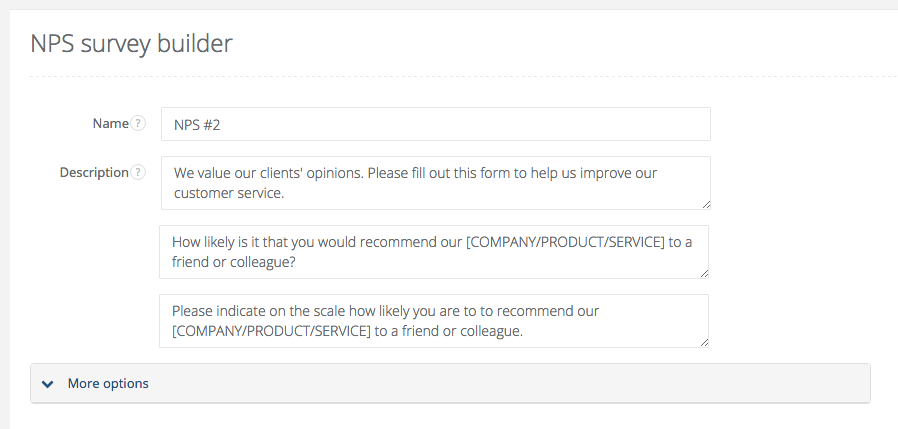
As you can see, there are four fields that you can edit. Name contains the name of your new NPS campaign - the contents of this field are private and will not be shared with the recipients of your survey. Then there are three paragraphs marked Description. You can edit the text in these fields to change the look of your NPS survey:
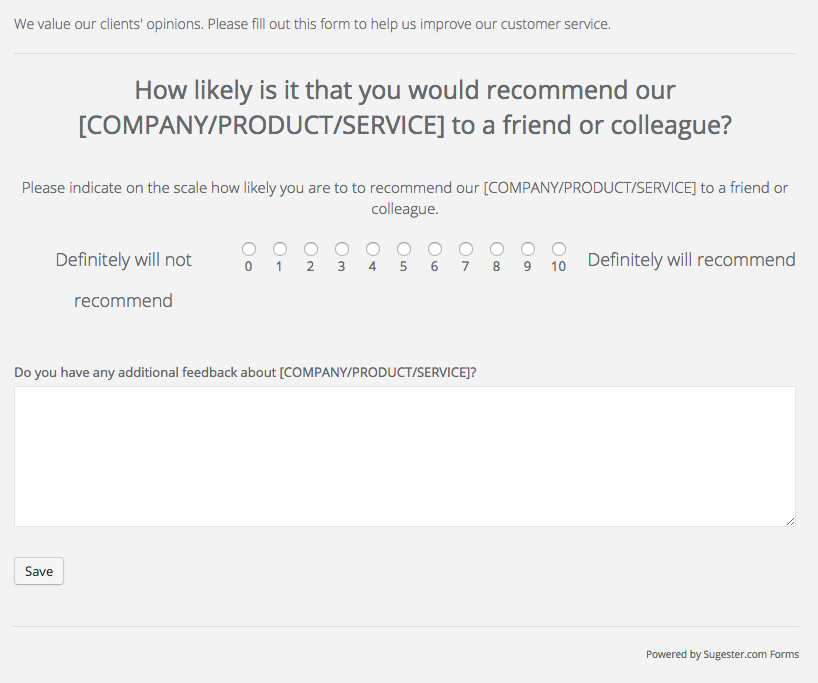
You can also customize more aspects of your NPS survey by expanding More options. You will see the following form below the fold:

When you're satisfied with your settings, you can click the Save button at the bottom of the page. You will be sent to a confirmation screen:

As you can see, there are two ways to proceed with your NPS survey: you can Send it via email to a target audience or Embed it on your website by copying and pasting a short snippet of code. More information about mass mailing can be found in this article and an embedding walkthrough is available here.
After you've collected some results, you can view them by going to Forms > Show results or download them as an Excel file by going to Forms > Download XLS.